Insulating around a rooflight means carrying the roof's insulation right up to the frame, with no gaps, and then lining the opening inside so the warm air meets a warm surface. The glass gets the attention. The ring of upstand and reveal around it does a great deal of the thermal work, and it is the part most easily left to chance. This guide follows the insulation from the outside deck, up the kerb, across the joint with the frame and down the reveal into the room, in the order we build it. It sits within our wider set of energy efficient rooflights advice.
Why the ring around the glass matters as much as the glass
A high-performing pane set into a cold surround behaves like a warm hat on a cold head. The glass may be fine, while the edge of the opening sheds heat, chills the plaster and invites moisture onto the surface.
Think about what a rooflight opening actually is. The roof build-up, with its insulation, is cut through. Something has to take the place of that insulation around the four sides of the hole. If that something is a thin timber upstand with a coat of felt, the roof has a weak strip all the way round the glazing, and it is a strip that sits directly above the room's warm air.
The result shows up as a cold line of plaster around the opening in winter, a dark edge where moisture settles, and a room that feels draughty near the skylight even when the glass itself is modern. We cover the physics of that strip in our guide to cold bridging around a rooflight. This page is the practical companion: what goes where, and how it is finished.
It also matters for the sums. The efficiency figure printed for a rooflight describes the glazed unit. It does not describe your particular kerb, your particular reveal or the way the two meet. The installation decides whether the published number is ever reached in the room.
Reading the roof before we plan the insulation
Every roof takes a different answer. Before anything is specified, we look at what the deck is made of, where the insulation sits, and how much depth there is to work with.
A warm flat roof has its insulation above the structural deck, under the waterproof layer. A cold flat roof has it between the joists, with a ventilated void above. A pitched roof usually has rafters with insulation between them, sometimes with a board across the underside. Each of these needs a different way of reaching the rooflight frame, and the survey is where we find out which one we have.
The post-war neighbourhoods of Crawley are full of flat-roofed rear extensions and converted lofts. Both carry rooflights well, but the roofs behind them vary: an older flat roof may have thin insulation and little depth, while a newer extension may already have generous boards. We measure the real depth of the build-up at the opening, because that depth decides how much insulation the upstand can hold.
- Warm deck: insulation continuous above the deck, so the kerb can sit on it or rise through it.
- Cold deck: insulation between joists, so the trimmers and kerb need extra care to avoid a thin spot.
- Pitched roof: insulation between and often below the rafters, so the lining of the opening does much of the work.
Upstands: where the insulation meets the weather
An upstand is the raised edge that lifts the rooflight frame clear of the roof surface. It needs to be tall enough to keep water out and thick enough to hold insulation, and those two jobs pull against each other.
On a flat roof the upstand is typically built from timber, or supplied as a prefabricated kerb in timber, GRP or insulated composite. Whichever form it takes, the waterproof layer is dressed up its outside face, and the standard guidance is for the finished upstand to rise at least 150 millimetres above the finished roof surface so that standing water cannot reach the joint with the frame.
The timber upstand is the classic weak spot. A plain timber box conducts heat far better than the insulation beside it, so it becomes a line of lost warmth around the whole opening. The remedy is to insulate both the inside and the outside face of the upstand, so the timber sits in the middle of a warm sandwich instead of forming a bridge.
Prefabricated insulated kerbs solve part of this by design. They arrive with insulation already inside the walls of the kerb, which removes a good deal of site variation. They still need the roof insulation beneath them to be properly butted up, and they still need the inside of the opening lined. The dimensional side of a kerb is part of our flat roof rooflight installation work.
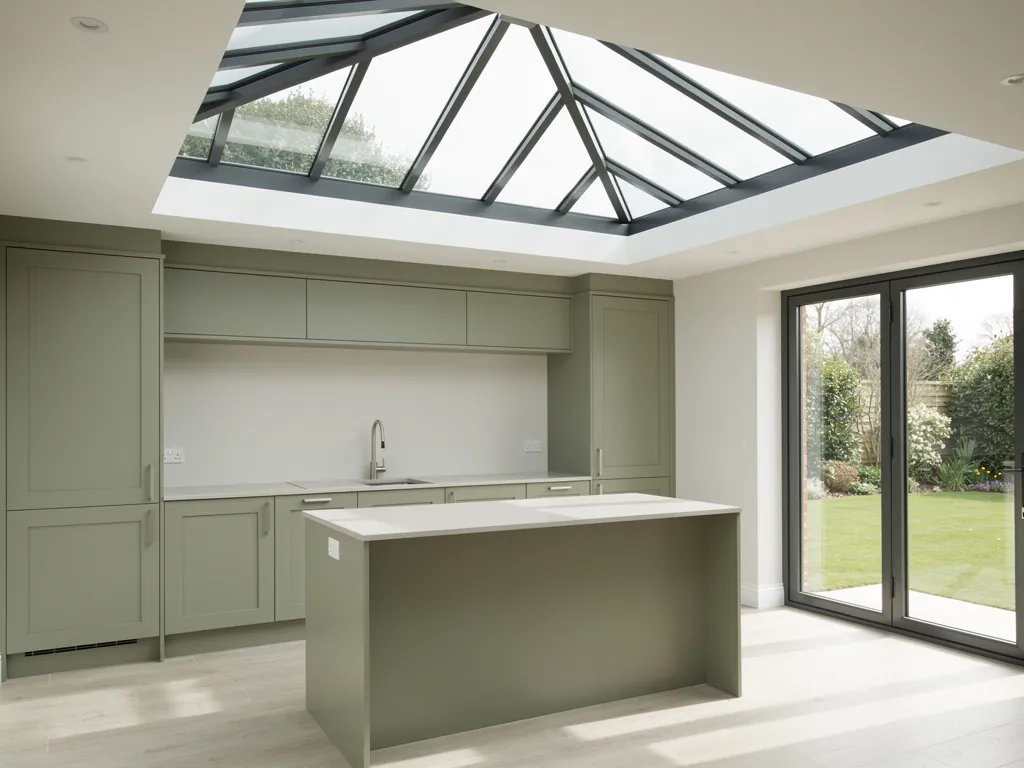
Insulating the outside face of the kerb
The outside of the kerb is where most of the gain is won. Rigid board fixed to the exterior face, under the waterproof layer, wraps the structure in warmth and protects the timber from temperature swings.
We normally use a rigid foam insulation board, cut to the height of the upstand and fixed to its outer face before the membrane goes on. The board needs to meet the roof insulation without a gap at the base, because a hairline gap at that corner lets cold air track straight into the structure. Where the two layers meet, we stagger the joints and fill any remaining voids so the envelope reads as one continuous layer.
The membrane then covers the board and rises to the top of the upstand, finishing under a flashing or a cap that sheds water away from the frame. Because the board lies under the membrane, it stays dry and keeps its performance for the life of the roof. This is also the stage where fixings have to be chosen carefully: long screws through insulation into a timber kerb can act as tiny bridges themselves, so we keep their number low and their positions planned.
The inside face and the depth of the reveal
A reveal is the lining of the opening between the roof structure and the ceiling below. It is the part you see and touch, and it has to be warm to the hand as well as tidy to the eye.
In a deep opening, such as a loft room with a thick roof build-up, the reveal can be a tunnel several hundred millimetres long. Bare plasterboard on a timber frame there is little better than a cold wall. We line the inner face with insulation board, then finish with plasterboard or a thin insulated lining that returns neatly to the ceiling.
Shape matters as well. A splayed reveal, angled outwards towards the ceiling, lets more daylight spread into the room and also leaves a bigger, softer finished surface. A square reveal is simpler and uses less material. Both can be insulated well, so the choice is usually about how much light you want thrown across the ceiling. Our surveyor will sketch the splay on the day.
Whatever the shape, the insulation inside the reveal has to join the roof insulation in a continuous line. A stop-start in that line is where cold gathers. We check the junction at the head, the sill and both cheeks, and we tape and fill the corners before the plastering or lining goes on.
The joint between frame and kerb
The junction between the rooflight frame and the upstand is the smallest detail in the ring, and one of the most important. It has to keep out water, air and cold at the same time.
Modern frames are made with a thermal break: an insulating barrier inside the frame profile that stops the metal carrying heat from the warm side to the cold side. Our page on thermally broken rooflight frames explains how that works. The break only helps if the frame sits on a warm kerb. A well-made frame on a cold timber upstand loses much of what the break gave it.
Air leakage is the second worry. Warm, moist air moving through a gap at the frame joint carries heat with it and deposits moisture inside the structure. We seal the frame to the kerb with a continuous line of compressible tape or sealant, and on the room side we use an air-tight lining so the vapour cannot slip behind the insulation. These seals are also what keep the room quiet. The same continuous line that stops a draught also stops a whistle, and the same careful finish makes rain on the glass less noticeable. The quiet spec we write for each quote records how the seals and upstand are finished.
Vapour, ventilation and the risk of damp
More insulation in the wrong place can trap moisture instead of keeping it out. The aim is to keep warm, damp room air away from cold surfaces inside the roof, where it would turn back into water.
In a warm flat roof, a vapour control layer sits below the insulation, on the warm side, and is lapped up to the frame and sealed. It has to be continuous, including around the opening, which is why the reveal lining and the roof layer must be planned together. A vapour layer that stops short of the frame leaves an easy route for damp air to reach the cold timber.
In a cold roof, the void above the insulation needs to stay ventilated. Rooflight openings can interrupt the airflow if a trimmer or upstand blocks the void, so the detail has to keep a clear path for air around the opening. Approved Document C deals with resistance to moisture, and Part F deals with ventilation of the building generally. We work to both, and to Part L for the energy side, which is covered in our summary of Part L and rooflights.
The warning signs of a detail that has gone wrong are easy to spot. Dark spotting on the plaster at the head of the reveal, a musty smell in the loft room, and droplets forming on the lining on cold mornings all suggest that air and vapour are finding a way in.
A worked example: a 1960s loft room in a New Town semi
An example shows how the layers add up. Take a loft bedroom created in a 1960s semi, with a pitched roof and a single rooflight over the bed.
The rafters are shallow, so the insulation between them cannot be thick. We add rigid board across the underside of the rafters, which gives extra thickness and cuts the timber bridging. At the rooflight opening, the trimmers are boxed out, and the kerb is wrapped in board on the outside. The inside of the opening is lined with board and returned to a splayed plasterboard finish. The vapour layer is lapped onto the frame and sealed with tape.
If the bedroom sits under the Gatwick routes, the quiet spec notes a laminated acoustic inner pane and a compression seal, and the same upstand and reveal work that keeps the room warm also helps keep it hushed. You can read more about how one build serves both aims in our guide to one glazing build for warmth and quiet.
Where each layer goes
The table below sets out the layers we build up around a rooflight, from the weather side to the room, and what each one is there to do.
| Layer | Where | Purpose |
|---|---|---|
| Waterproof membrane | Outside of upstand | Keeps rain out |
| Rigid board | Under membrane, outer face | Wraps the kerb in warmth |
| Kerb structure | Between the boards | Carries the frame |
| Inner board | Inside of kerb and reveal | Warms the lining |
| Vapour layer | Warm side of insulation | Stops damp air |
| Plasterboard finish | Room side | Gives a neat, warm surface |
Replacing a unit in an existing opening
Some jobs start with an opening that is already there. The question is how much can be improved when an old unit comes out and a new one goes in.
A replacement is the best moment to upgrade the ring. With the old unit out, the kerb and reveal are exposed and can be assessed. Sometimes the existing upstand is thinly insulated or not at all. We can add board to the outside face, line the inside, and renew the seals at the frame joint so the new glazing sits on a warm surround instead of the old cold one.
There are limits, because the structure is already built. Where the kerb is shallow, or the opening is tight, we may not be able to add much thickness without changing the frame size. In that case we describe what can be done, and we say what is gained. Our notes on whether an old rooflight can be upgraded and on why a skylight makes a room feel cold help set expectations before the survey.
Faults around the opening that a plan should rule out
A handful of faults cause most of the trouble around rooflights. Knowing them helps you read a quote and ask the right questions.
- An uninsulated timber upstand, which leaves a cold ring around the whole opening.
- A gap between the roof insulation and the kerb board, which lets cold air run behind the lining.
- A vapour layer that stops short of the frame, so damp air reaches cold timber.
- A reveal left as bare plasterboard on a timber frame, which stays cold to the touch.
- Foam squirted into gaps as a substitute for continuous board, which leaves voids and weak spots.
- A very thick outer board that crowds the frame, making the weatherproofing rushed.
None of these is difficult to avoid on paper. They happen when the work is treated as a quick fitting instead of a build-up that has to be planned on the drawing and checked at each stage.
What to ask at the survey
A good survey asks about the roof before it talks about the glass. If it does not, the insulation will be an afterthought.
Ask how the insulation will reach the frame on every side. Ask whether the upstand is insulated inside, outside or both, and what the reveal will be lined with. Ask where the vapour layer sits and how it is sealed. And ask how the detail will be written down, since a written specification is what lets you compare two quotes fairly.
At Clear Skylights, those answers go on the quiet spec that comes with every quote, along with the glazing build and the seals. The glass, the kerb and the lining are then a single decision, not three separate ones. If the room is a loft conversion, our guide to energy efficient rooflights for loft conversions goes further into those roofs, and the quiet spec page shows how the written note is laid out.
Finishing, inspection and what you should see afterwards
The last stage is the one you can see, and it is also where the earlier work is proved or undone. A neat finish hides a lot, so we inspect the layers before they are covered.
Before the lining goes up, we check that the board is tight to the roof insulation, that the vapour layer is lapped and taped, and that the frame seal is continuous. We photograph the layers so there is a record. Where the work is notifiable, we handle the Building Control notification, and the job is installed to current Building Regulations.
Afterwards you should see a clean, straight reveal with crisp corners, a lining that feels close to room temperature in winter, and no dark edge forming at the head. If something looks wrong in the first cold season, the written spec tells us exactly what was built, which makes it easy to trace. The work carries our 10-year workmanship guarantee.
Questions about the warmth of the opening
Does thicker insulation around the kerb always help?
Up to a point. More board cuts heat loss, but it also adds depth and can crowd the frame. We set the thickness on the drawing so the membrane, the flashing and the glazing bars all still have room to be finished properly. Continuity matters more than thickness, and a thinner layer with no gaps beats a thick one with holes.
Can I insulate the reveal myself?
You can add a lining, but it is easy to leave gaps at the corners or to break the vapour layer. We build the reveal as part of the same job as the kerb so the two layers join. The quote form is the place to ask about a specific opening.
Will better insulation change how heat escapes through the glass itself?
No. It cuts loss through the surround, which is a separate path from the pane. For the glass side, see how heat escapes through a rooflight.
Does a warm reveal also cut condensation?
Generally yes. Condensation forms on surfaces colder than the dew point of the room air, so a lining that stays close to room temperature is less likely to collect moisture. Good ventilation and a sealed vapour layer do the rest.